
1. Access the CentraHub CRM settings and type ‘Fields’ in the search box.
2. Access the drop-down list of module customization and click on the module’s fields to create a custom field.
Example: Here, we have chosen the Account fields)
3. In the module’s field page, Click on Add Header field. A new window would open for Field properties.
4. Enter the relevant details in the Field Properties page.
Field: To define the field specification in the module.
Select the group name from the drop-down list.
Enter the caption for field which you want to create.
Enter the name of the field.
Select the control type. (Text box, phone, email, website or geolocation)
From the drop-down list select the data type.( Text, Number, String, etc.,)
Set the minimum and maximum size for the field.
Enter the default value for the field.
Select the display type from the drop-down list.
Enter a brief explanation about the field in Tooltip text. This would help the CRM user know what the field is used for.
Enter the banner text. Banner text is the slightly transparent/grey text that is visible in the field as an example to make it easy for users to fill relevant details.
Set the expression for the field. If it is email, then it should with @gmail.com or other email extensions. Similarly, if it is for the phone number then set it to numerical.
Enter the error message that would be displayed if the users adds a wrong entry in the field.
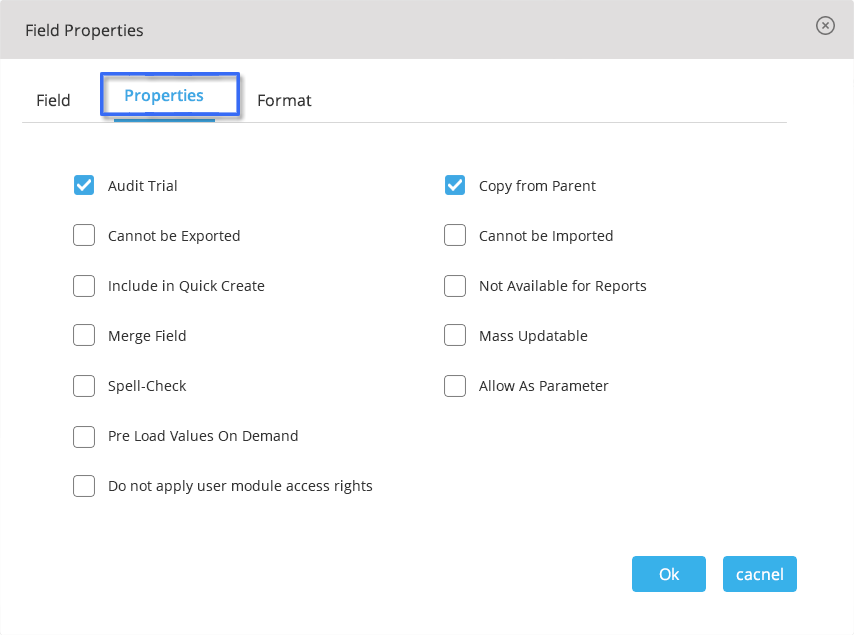
Here are the different field properties which are applicable. Select the checkbox for properties of the field depending on your requirement.
Format: Set the format of the field.
Row span & Col span: Enter the row and column span value of the field.
Character casing: Select the character casing from the drop-down list.
Text alignment Set the text alignment( left, center or right).
If you have selected the ‘allow only selected user’ option, you would have to specify the selected users using the arrows.
5. Click Save.
Get in touch with us for details on setup and additional custom services pricing
CONTACT US


